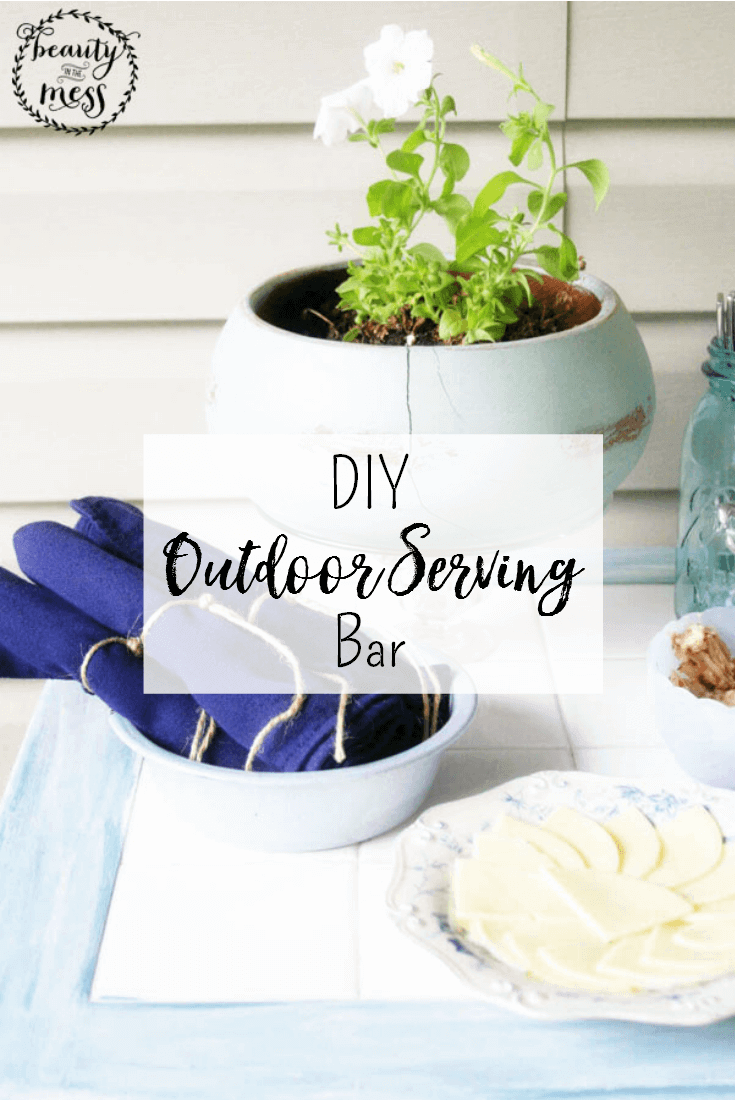
Create Your Own Outdoor Serving Bar Everyone Will Love
If I want guests to gather here, I need to create spaces that make hospitality simple. This DIY Outdoor Serving Bar is designed to do just that.
When you have guests in your home, where do they gather? In my home, we typically end up around a table. In the cool months, it’s the dining table, but when it’s warm, we often find ourselves out on the deck.
It’s one of my favorite spots in our home, a place where I relax in the evenings, play with the kids, and visit with friends. That’s why I repurposed an old table to create this DIY Outdoor Serving Bar.
This summer, I’ve been working to update our deck so that relaxing, playing and gathering are natural and simple. When considering how to decorate our homes, we should first ask “How will my family be using this space?” instead of “How do I want this room to look?”
For example, I desire our deck to be…
- A Place to Relax – incorporate pillows, blankets, a spot to set a drink, plants and flowers
- A Place to Play – toys within easy reach, storage for toys, designated play areas
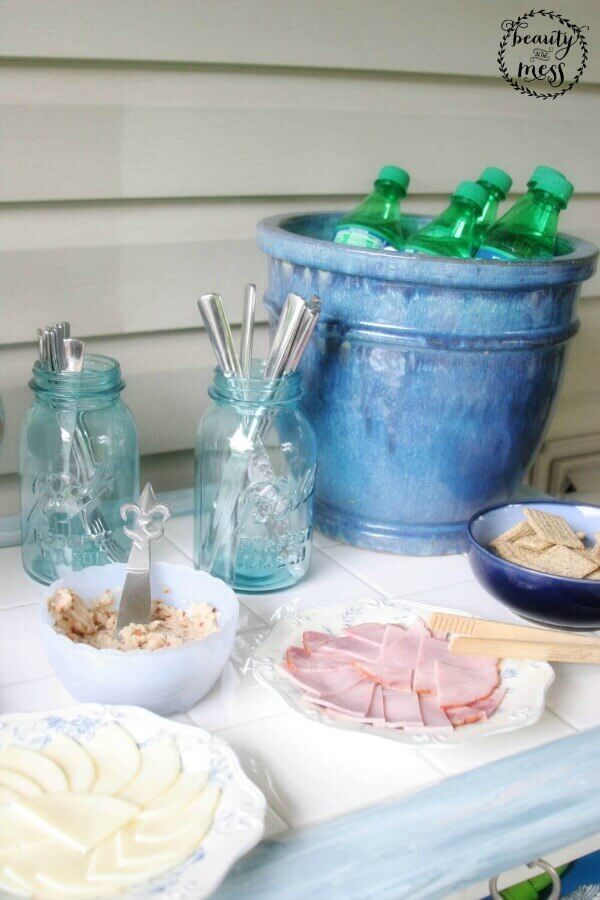
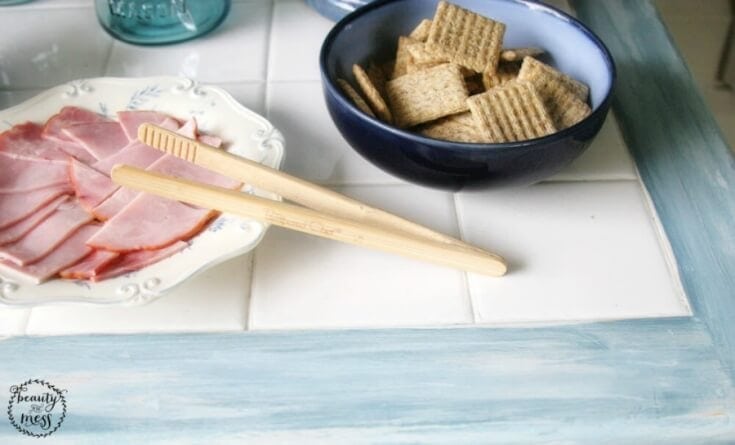
- A Place to Gather – seating, a table, serving space for drinks and food
Today I’m sharing how we added both toy storage and serving space with one basic piece of furniture.
When purchasing furniture and decor, focusing on the needs of a space will help you resist impulse buys — things that you might like, but that don’t necessarily function well for your family. Thinking in this way may also help you re-purpose furniture or decor that you already own.
That’s how I came to update this basic breakfast bar that my husband has owned since before we were married. It’s never been my favorite piece, but it’s functional.
We’ve been using it in our breakfast nook as a coffee bar, but that room just got a makeover with a new dining table. Honestly, I considered selling it, but then I realized that this old table could be the solution to a lack of serving space on our deck.
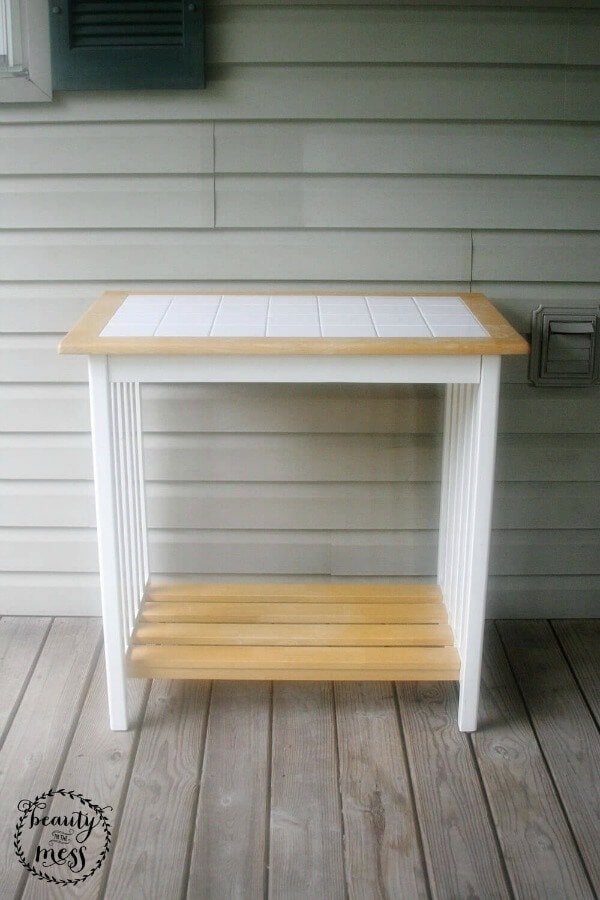
It’s the type of simple table that would be easy to track down through Craigslist, yard sales, or flea markets because they are affordable and mass-produced. If you like this little makeover, add an old breakfast bar to your thrift shopping list.
They make the perfect little coffee station or outdoor serving station on the patio. Add wheels and a handle to make it a DIY serving cart!
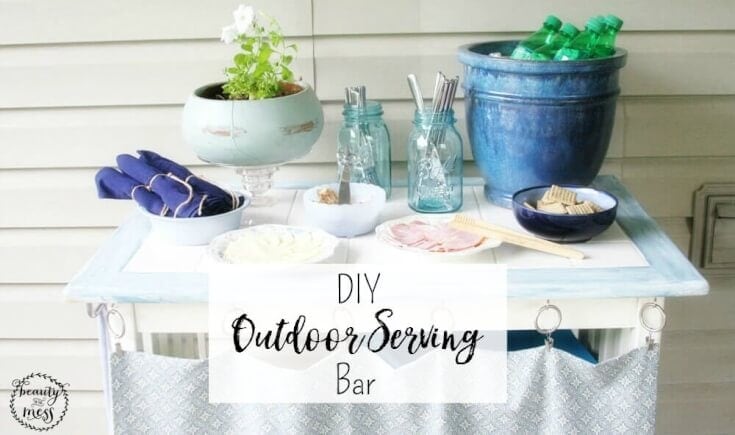
DIY Outdoor Serving Bar | The Perfect Outdoor Serving Station
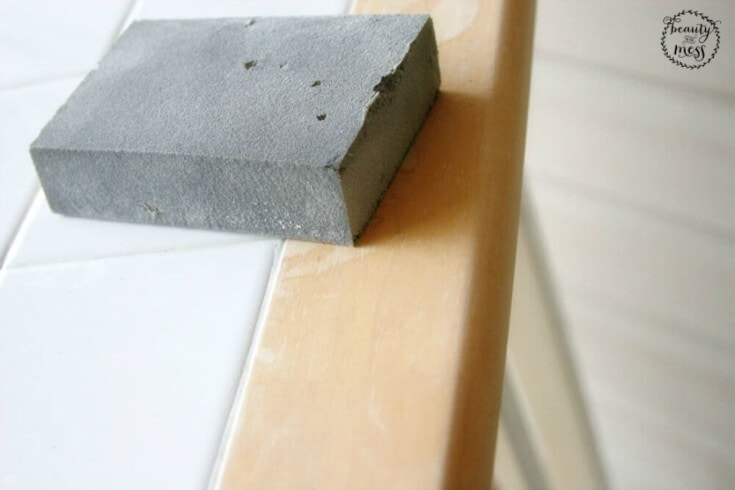
Depending on the finish of the table, it will probably need to be sanded and a fresh coat of paint. I will typically check my paint stash first to see what I’ve got on hand, especially for small projects like this one. We’ve got patio cushions in shades of blue on our deck, so I grabbed several blue paint samples to use for this makeover.
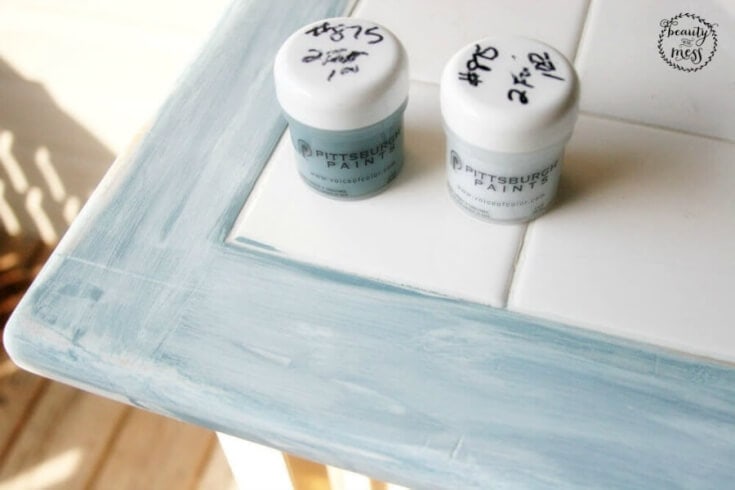
Our deck is a casual space, so I gave it a weathered finish by painting layers of each color with messy strokes. I purposely didn’t cover each coat fully, so that the various shades of blue would be visible. To finish off the weathered look, I sanded some of the corners and edges to let the original wood show through.
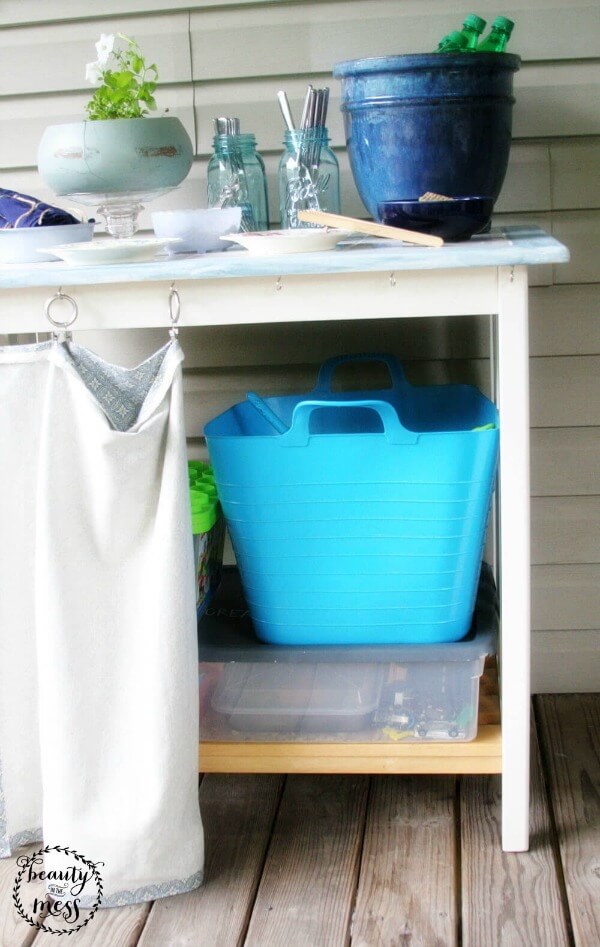
Part of the reason I chose to keep this little table is due to the shelf at the base. It’s great for storage, and depending on your needs, the underside could be left open or closed.
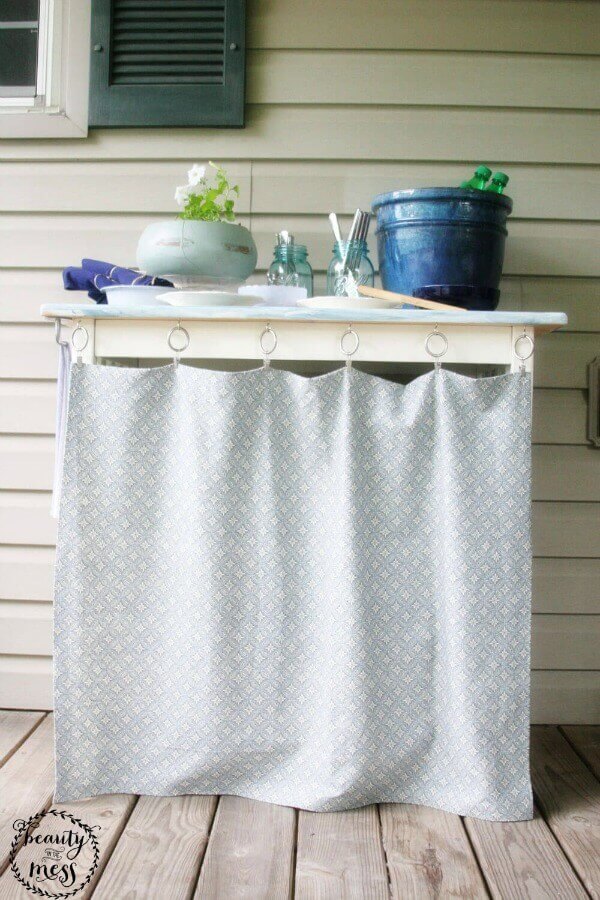
We need toy storage on our deck, so I chose to create closed storage. I screwed simple cup hooks into the underside of the tabletop in order to hang a curtain.
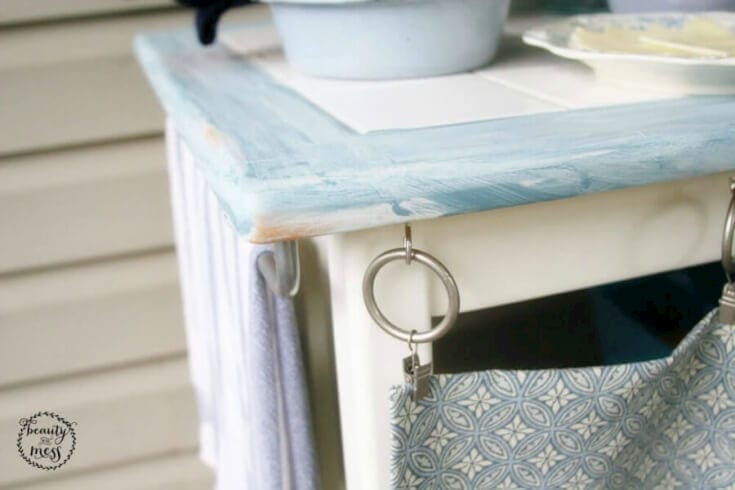
The kids can easily pull back the curtain and access their toys and portable sandbox, yet it looks clean and neat when everything is picked up and we are hosting guests.
The curtain is just a rectangular piece of fabric, cut to size, and finished along the edges with iron-on hem tape. If you aren’t a seamstress, hem tape is a great tool to have in your craft stash because it allows you to tackle simple, no-sew projects.
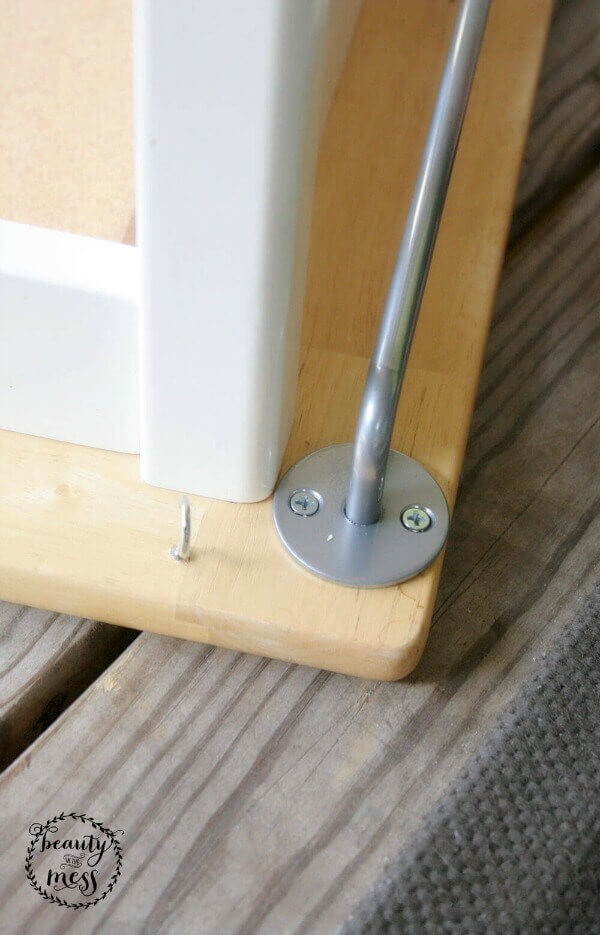
I also attached a hanging bar to the underside of the tabletop. It will be handy for hand towels or grilling tools and utensils.
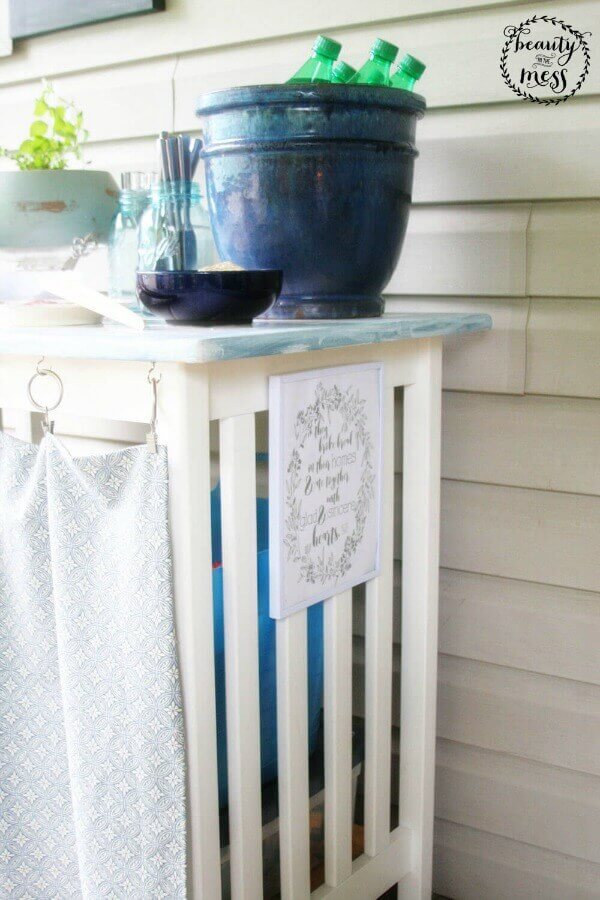
Finally, I added a nail on the opposite side to hang some art. The print that I chose features Acts 2:48, which is a Biblical description of hospitality and gathering together–exactly what I desire for this space. You can download a free copy of this Hospitality Artwork at Craftivity Designs.
It might seem like a lot of work to update an old table, but when I invest time in a project, I’m intentional about using the finished product. I’ve set it up in a way that makes hosting guests easy, which means I am more likely to invite friends over for a visit.
In other words, if I want guests to gather here, I need to create spaces that make hospitality simple.
As Acts 2:48 describes, I want to welcome friends with a glad and sincere heart, not a heart that is anxious over everything I need to “finish” in order to have people into my home. Hospitality isn’t about perfection, it’s about welcoming.
Need more ideas? Here are 11 free DIY Bar Plans.
What’s keeping you from welcoming others into your home? How can you update a space in your home in order to make hospitality simple?

My name is Lora Green and I blog at Craftivity Designs, where I document how we are creating our home. I believe that a home is about much more than design and decor–it should tell the story of a family. Our home should fit the needs of two small kids, a work-at-home mom, and a youth pastor dad. I want it to be a beautiful space, but it must be functional and meaningful, too. If you are trying to meld function and beauty, join me over at Craftivity Designs and share in this journey of creating a home.


Lora, you did a fabulous job on the table! I love the idea of using fabric to hide the toys.
Best,
Kelly
Thanks, Kelly! We needed the toy storage, that is for sure!
This is such a creative way to transform a boring piece and make it multi-functional. Glad it has finally found a permanent place to call its own. I love the idea of the hanging curtain and having all the grilling utensils and towels hidden. I need something like this in our backyard for all hubby’s grilling things. I usually keep them in the kitchen but they take up space. I once had moved them out to the garage (ha ha) but that was not very functional.
They are huge, aren’t they? Such a pain to store them in the kitchen. Our grilling utensils barely fit in the drawers they are so long.
Looks great Lora! I love how you turned something so ordinary into something so specific for your needs! The curtains are a great idea to hide items!
Thanks, it’s definitely an improvement from before 🙂
Wow, Lora! This is such an incredible transformation. You took a relatively normal, nothing special piece of furniture and turned it into something beautiful to look at and a multi-functional tool, as well! Such a great idea!
Thanks, Sarah!