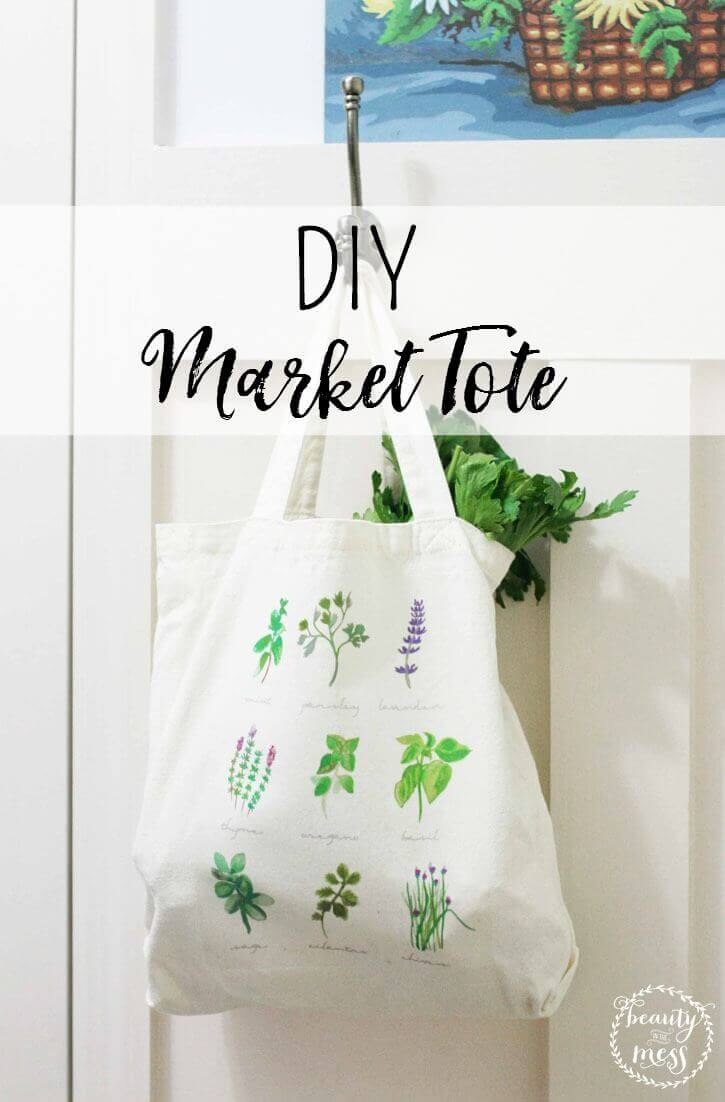
Make Your Own DIY Market Tote for the Farmer’s Market
Make a lovely DIY market tote to fill up with all your goodies. Show off your handmade tote while you shop at the farmer’s market!
Do you visit the farmer’s market during the summer? It’s one of our favorite weekend activities. After all, we get to spend time outdoors and mark a few items off the grocery list. If only all grocery shopping could be completed in beautiful open-air markets, right?
Though we’ve collected plenty of reusable grocery bags over the years, it’s still fun to have something pretty to carry. Plus, I’m more likely to remember to take my tote when it’s made just for the farmer’s market (please tell me that I’m not the only one who regularly forgets their reusable bags…sigh).
DIY Market Tote
Supplies
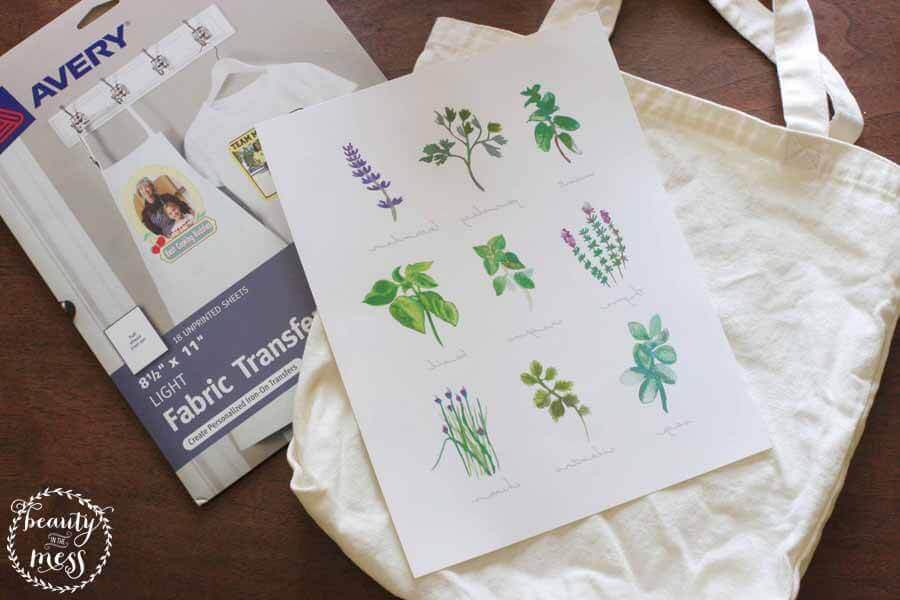
Canvas Tote
Artwork File
Printer and Ink
Iron-On Transfer Paper
Iron
Pillowcase
Instructions
If the canvas tote is wrinkled, iron it before starting the project. The artwork will need to be applied to a clean, smooth surface.
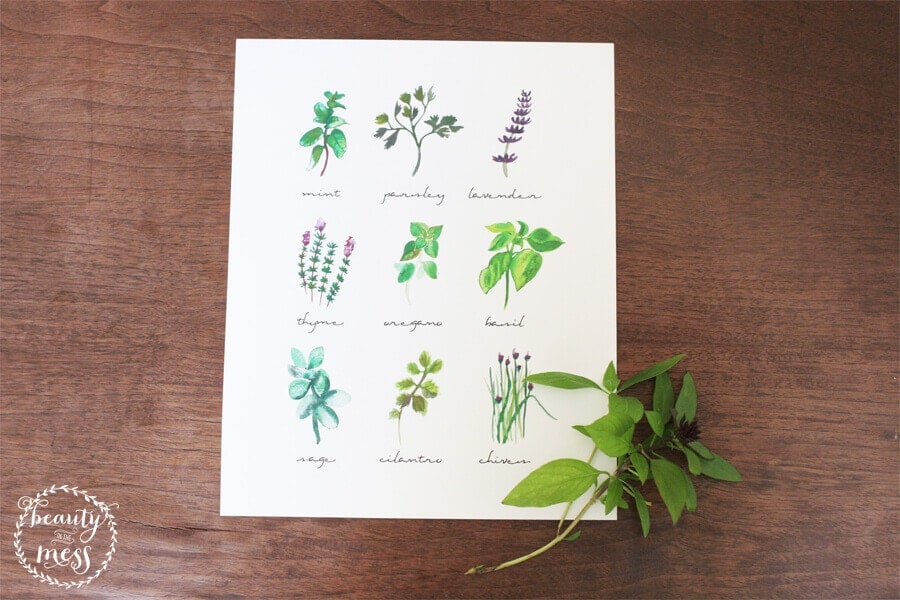
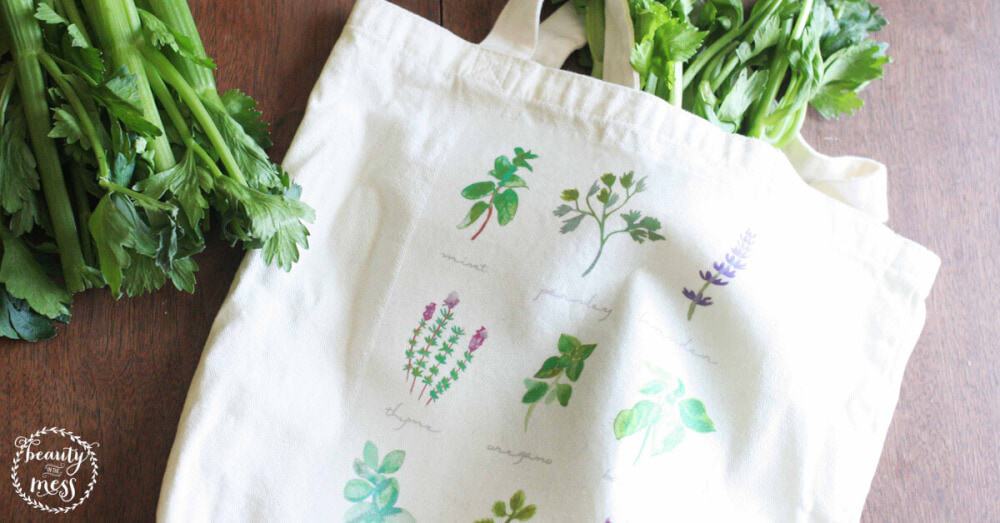
Choose the artwork that you’d like to use and download the file. I chose a set of 9 botanicals from my shop to fit the farmer’s market theme for the DIY Market Tote.
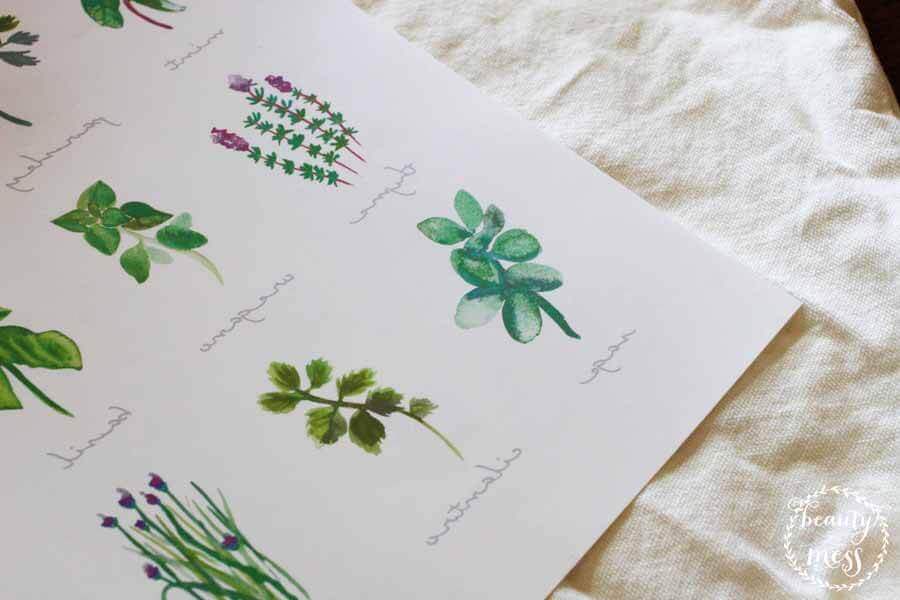
If there are any words in the chosen artwork, it will need to be flipped. Otherwise, the words will be backward after the transfer to the fabric. In other words, the iron-on is a reverse image of what will actually appear on the tote. You can use this free online tool to flip an image.
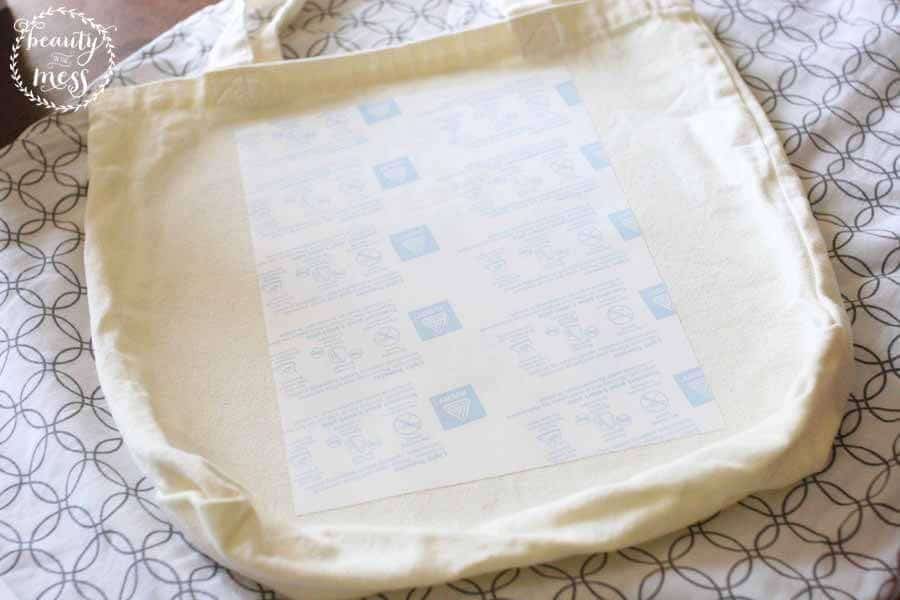
Print the flipped version of the file onto iron-on transfer paper, which you can find on Amazon. Make sure to follow the printing directions that come with the transfer paper.
Once the artwork is printed, it is ready for ironing. Again, make sure to follow the directions that come with the transfer paper.
It’s best to take your time and follow the instructions closely. My transfer paper recommended 3 minutes of ironing (in 20-second segments) and 2 minutes to cool. This seemed like a lot of heat to apply to paper, but it worked perfectly.
Finally, peel off the transfer paper slowly in order to reveal the finished diy market tote!

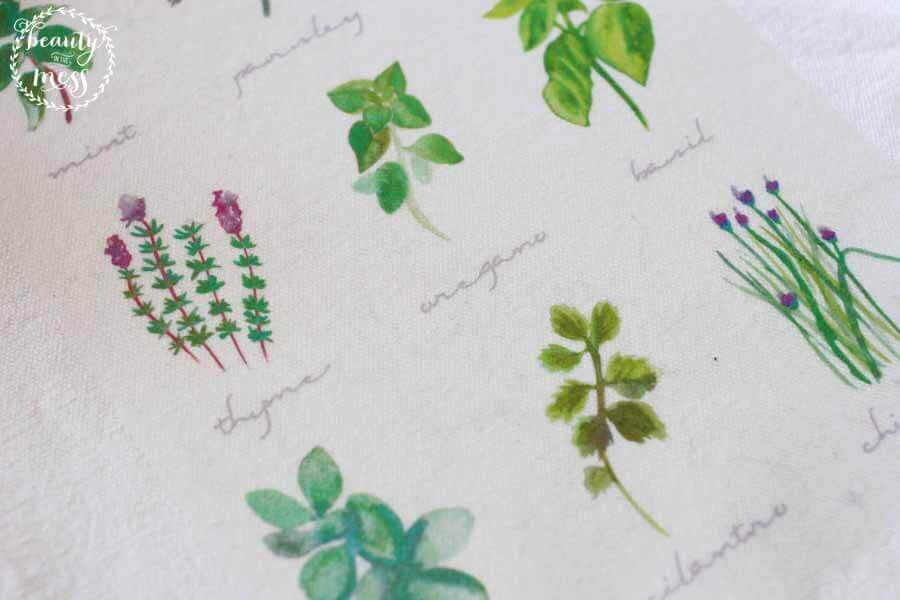
Now you are ready for warm summer mornings at the farmer’s market. Fill it up with all your goodies and show off your handmade tote while you shop!
Feel free to mix up this project with different artwork. For example, if you are heading to Disney this summer, make totes decorated with the favorite Disney character of each child (this is on my to-do list, to pair with our Disney Trip Countdown) and fill it with car games for the trip. If you spend weekends at the lake, create a tote bag with anchor artwork and fill it with boating essentials.
What kind of DIY tote would you make?

My name is Lora Green and I blog at Craftivity Designs, where I document how we are creating our home. I believe that a home is about much more than design and decor – it should tell the story of a family. Our home must fit the needs of two small kids, a work-at-home mom, and a youth pastor dad. I want it to be a beautiful space, but it should be functional and meaningful, too. If you are trying to meld function and beauty, join me over at Craftivity Designs to share in this journey of creating a home.